How to Build an Asset Registry in 7 Steps
Wondering how you can track your assets better? Learn how to build an asset registry in 5 simple steps to boost control, reduce losses, and stay organized.
In this article:
- Key Takeaways
- How to Build an Asset Registry - Seven Steps
- Step 1: Understand What an Asset Registry Actually Is
- Step 2: Choose Where You'll Build Your Asset Registry
- Step 3: Decide What Assets to Include
- Step 4: Define the Fields You Want to Track
- Step 5: Enter All Your Assets into the System
- Step 6: Create a Simple Process for Updates and Maintenance
- Step 7: Use the Registry to Improve Your Operations
- Ready to Skip the Hassle and Build Smarter?
Do you know exactly what your business owns? Most companies don’t.
In fact, nearly 60% of organizations struggle to track their assets properly. That’s a big problem because what you can’t track, you can’t manage.
However, you can fix that with the help of an asset registry. It provides a clear and organized list of everything your business owns. This makes planning, budgeting, and decision-making easier.
The good news? You don’t need to overcomplicate it.
Here’s how to build an asset registry in seven simple steps to make asset management a breeze.
Key Takeaways
- Step 1 - Know what you’re building: Before anything else, understand that an asset registry is more than a list. It's a detailed record of everything your business owns.
- Step 2 - Choose your tool: Select a platform that suits your team. For instance, spreadsheets are great for small setups, while proper equipment management is better for growing businesses.
- Step 3 - Decide what to track: You don’t need to log every stapler. Focus on high-value or high-risk assets that impact your operations.
- Step 4 - Set up your data fields: Create key columns, such as asset name, location, condition, and the user’s name.
- Step 5 - Start entering assets: Start with your most valuable assets and work your way down. Accuracy matters more than speed here.
- Step 6 - Make updating easy: Assets move around, break, and get upgraded, so set a process to keep things current. Assign someone to manage updates and create forms or reminders as needed.
- Step 7 - Put it to work: Use your registry to make smarter decisions. Whether it's budgeting, audits, or spotting maintenance trends, your asset registry should actively support how your business runs.
How to Build an Asset Registry - Seven Steps
Creating an asset registry might sound complex at first, but once you break it down, it’s just a series of clear steps. Let’s break down how to build an asset registry, so you’ll have a working asset registry at the end.
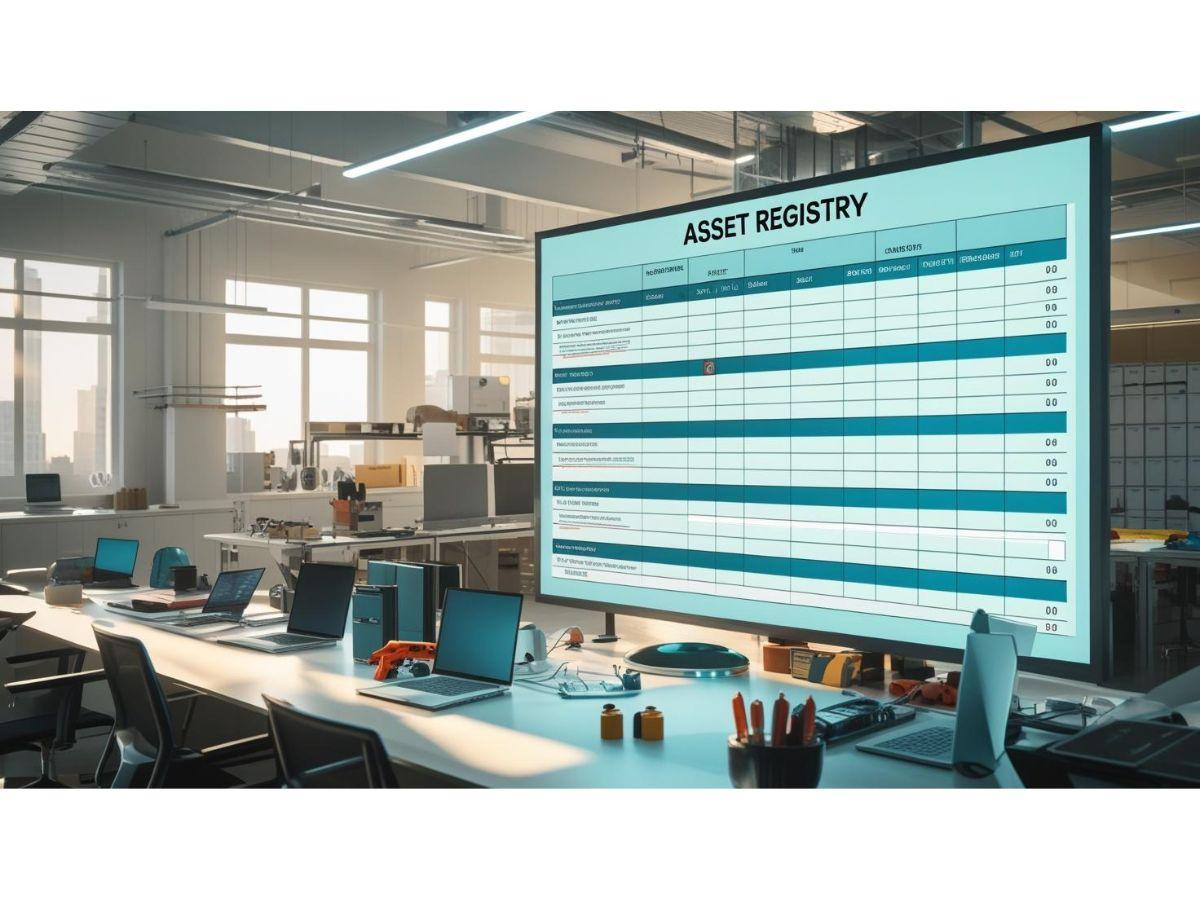
Step 1: Understand What an Asset Registry Actually Is
Before jumping into CMMS or manual spreadsheets, you need to know what you’re building.
An asset registry is a complete list of all the things your business owns that have value. This includes both physical and digital items. The registry doesn’t just name the assets, it tracks important information about them, like:
- What the item is (name/type)
- Where is it located
- Who is responsible for it
- When it was bought
- How much does it cost
- Its current condition
- It's warranty or maintenance status
Think of it as a master inventory list, but with more detailed information. For example, if you run a small design firm, your asset registry might include each designer’s laptop, the software license you use, your office printer, chairs, and desks, and even your artwork and lighting.
Step 2: Choose Where You'll Build Your Asset Registry
Now that you know what you’re building, it’s time to decide where you’ll build it. You have three basic options:
Option A: Use a Spreadsheet (Great for Small Teams)
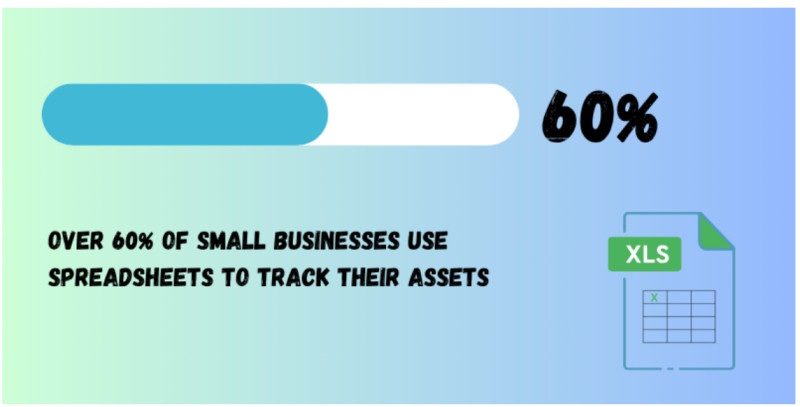
Even in 2025, over 60% of small businesses use spreadsheets to track their assets. This means spreadsheets are still one of the most reliable and trusted tools for asset tracking. If you’re just starting out or only have 10–50 assets, a spreadsheet is more than enough.
You can use:
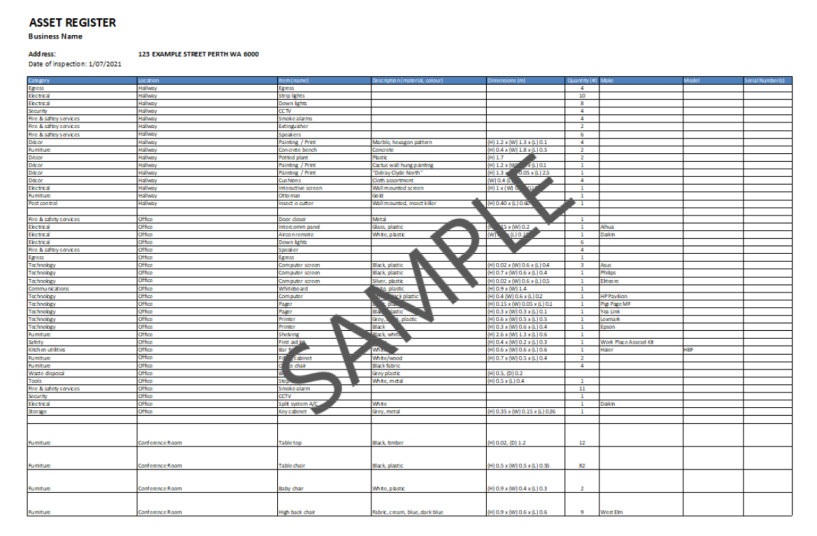
Create column headers for the details you want to track (like asset name, serial number, purchase date, etc.). This basic setup gives you visibility and control without the need for complex software.
Option B: Use an Asset Management App
For growing businesses, dedicated tools make tracking easier. These tools often come with automation, alerts, barcode scanning, and user permissions. These beginner-friendly tools are designed to help teams and businesses manage physical assets with ease.
Option C: Build It Inside Existing Tools
Some teams build an asset registry directly inside tools they already use, like:
- Notion (via tables or databases)
- Monday.com (using project boards)
- Trello (less ideal but possible for small teams)
If you don’t know which one to choose, look at how big your team is and how much you’re willing to invest. Each platform brings something different to the table, so the best fit comes down to how your team works on a day-to-day basis.
For example, Notion is a great choice if your team prefers flexibility and customization. Monday.com, on the other hand, is a more structured project management system with strong automation features.
Step 3: Decide What Assets to Include
While it’s tempting to log every item, not all assets need to be tracked as your business grows. Including unnecessary items in your asset registry only creates clutter, increases maintenance work, and makes it harder to focus on what truly matters.
So ask yourself, which items do you need to track regularly, budget for, or maintain? You can start with:
- Computers, tablets, phones
- Software licenses
- Office equipment (printers, routers)
- Vehicles
- Tools and machinery
- Company-owned credit cards
- Servers or cloud systems (if applicable)
Make a list on paper or in your notes app first. Walk around your office, workshop, or store and record everything you see. Refer to open purchase receipts or supplier records for assistance.
Helpful Tip: If the asset isn’t important enough to worry about losing, it might not be worth tracking.
Step 4: Define the Fields You Want to Track
Now it’s time to set up the columns or data points for each asset. You don’t need to overdo it, but be specific.
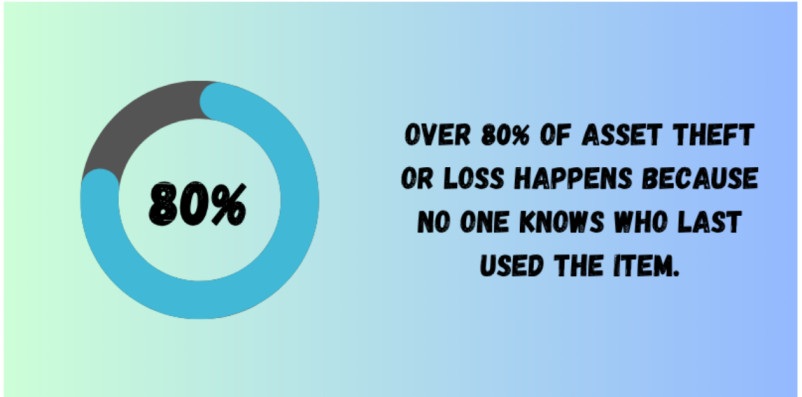
It’s important because, according to Exploding Topics, over 80% of asset theft or loss happens because no one knows who last used the item (asset misappropriation).
That’s why, here are the most common fields you must include in your asset registry:
| Column Name | What It Means |
| Asset ID | Unique code for each item (you can make this up) |
| Asset Name | Simple name (e.g., “MacBook Pro 16” or “Office Chair”) |
| Category | Laptop, furniture, software, etc. |
| Serial Number | Manufacturer’s code or license key |
| Purchase Date | When you bought the asset |
| Purchase Price | How much does it cost |
| Location | Where it’s currently kept |
| Assigned To | Which employee is using it |
| Warranty Expiry | When the warranty ends (if applicable) |
| Condition | New, Good, Needs Repair, etc. |
| Maintenance History | Any repairs or servicing done |
* Don’t worry if you don’t use all these at first. You can always start small and grow later.
Step 5: Enter All Your Assets into the System
This is where you’ll actually start building your asset registry. All the other steps were designed to prepare you for this step.
Here’s how to build an asset registry:
- Open your spreadsheet or app
- Create all your column headers
- Begin entering each asset, one by one
If you’re using a software or app, you won’t have to create any columns as they come with predefined fields.
This step may take a few hours or days, depending on the size of your list, but don’t rush it. Accuracy is key here. Lastly, if possible, start with your most valuable or critical assets first. You can then work down to the smaller items over time.
Helpful Tip: Take photos of each asset and store them in a shared folder for easy access. Link the image in your registry if your tool allows it. This helps with insurance, tracking, or audits later.
Step 6: Create a Simple Process for Updates and Maintenance
Once your asset registry is built, don’t let it sit. Assets change hands more often than you realize. Moreover, they are often broken, upgraded, or sold from time to time. That’s why you need a simple update process.
Here’s what you can do:
- Designate someone to oversee and maintain the asset registry.
- Set a schedule. For example, review/update the list every 3 months.
- Create a handover form for employees when they get new equipment.
- Use email or internal forms to report repairs, damage, or lost items.
Example: Every time a new employee joins or leaves, update the “Assigned To” and “Location” columns. If a laptop is sent for repairs, mark it under "Condition" and log the asset maintenance details.
Step 7: Use the Registry to Improve Your Operations

Alt Text: 43% downtime happens due to a lack of asset health data.
Your asset registry is a valuable tool that enables you to make informed decisions. Don’t treat it like a simple spreadsheet. Use it as your operations database.
If you don’t, just remember that 43% unplanned downtime is because companies don’t know how well their assets are performing and whether they need maintenance.
For optimal operations, here’s how you can use this registry:
- Budgeting: Know what’s aging out and needs replacing
- Audits: Quickly show asset ownership for insurance or compliance
- Maintenance: Spot patterns, such as which machines break often
- Employee onboarding: Hand out and track new gear
- Security: Recover stolen or lost items more easily
As your business grows, this registry becomes a system that helps you stay organized, reduce waste, and avoid last-minute surprises. It also makes asset management audits easier in the long run.
Ready to Skip the Hassle and Build Smarter?
An asset registry is more than a record. It is a foundation for smarter business decisions. By following these seven steps, you can create a clear, accurate, and easy-to-maintain system that tracks what you own, reduces loss, and supports budgeting and audits.
The key is consistency. Keep your registry updated and use it to guide operational choices. Over time, it will become one of your most valuable tools for managing resources and keeping your business organized and productive.
Frequently Asked Questions
-
Photos help visually identify each item, support insurance claims, and simplify audits. You can store photo links in your spreadsheet or upload images directly to asset management tools. Make it part of your process to photograph new items and update pictures after repairs or when conditions change.
-
Yes, Excel or Google Sheets are good starting points for small businesses. You can build your own columns for asset details and customize the format. However, as your list grows, using dedicated software can reduce errors and save time with built-in features and automation.
-
Include all valuable, trackable business items such as laptops, tools, office furniture, vehicles, licenses, and software. Basically, if it costs money, supports operations, and may need maintenance or tracking, it belongs in your asset registry. You should include both physical and digital assets for full visibility.