Inventory Labeling Guide for Small and Growing Businesses
Not sure how to create an inventory labeling system for your small business? Learn simple tips, tools, and best practices to reduce errors and save time.
In this article:
- Key Takeaways: Inventory Labeling
- Why Inventory Labeling Matters?
- Inventory Labeling Options Explained
- 1. Manual Tags
- 2. Barcodes and QR Codes
- 3. RFID (Radio Frequency Identification)
- Step-by-Step Labeling System Setup
- Step 1: Audit & Organize
- Step 2: Define Labeling Standards
- Step 3: Generate and Apply Labels
- Step 4: Ensure Durability
- Step 5: Train Your Team
- Step 6: Run Regular Audits
- Common Labeling Mistakes to Avoid
- 1. Using Poor-Quality Materials
- 2. Neglecting Updates When Items or Layouts Change
- 3. Inconsistent Labeling Systems Across Locations
- Labeling Is the Small Step That Delivers Big Wins
Running a business can get messy quickly when inventory isn’t correctly labeled. Boxes pile up, products get misplaced, and your team wastes time hunting for items instead of serving customers.
The only solution? Inventory labeling.
However, many small businesses are unaware of how to effectively utilize it to their advantage. That’s why, in this guide, we’ll break down everything you need to know to set up a clear and effective inventory labeling system from day one.
Key Takeaways: Inventory Labeling
- Clear Labeling Saves Time: A proper labeling system enables faster item identification and tracking, reducing errors and lowering labor costs.
- Choose the Right System: Manual tags are suitable for small inventories, while barcodes and QR codes strike a balance between cost and accuracy. RFID works best for large-scale tracking.
- Organize Before Labeling: Audit stock, remove obsolete items, and create a clean foundation before applying labels.
- Train Your Team: Even the best system fails without proper training. Teach staff how to scan, update, and handle damaged labels.
- Avoid Cheap Materials: Poor-quality labels lead to wasted time and scanning errors. Invest upfront to save in the long run.
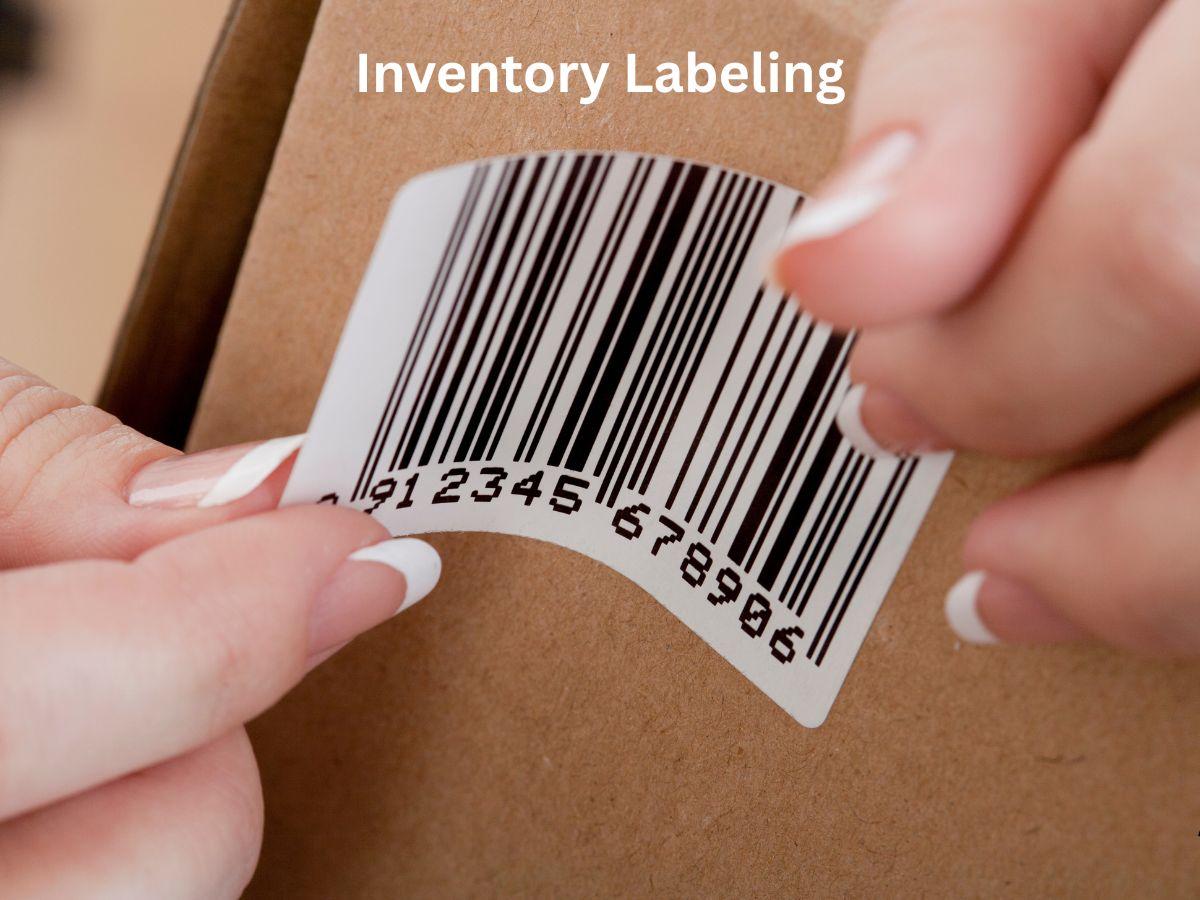
Why Inventory Labeling Matters?
When your shelves are stacked with supplies, products, or parts, it’s easy for things to get lost or miscounted.
That’s where inventory labeling comes in.
A labeling system can range from basic printed tags to advanced technologies such as barcodes, QR codes, or RFID chips. Each option gives items a unique identity, making it easier to track and manage them as they move through your business.
With clear labels, your staff can locate items more quickly, minimize errors, and maintain organized shelves. This directly lowers labor costs because employees spend less time searching for the right product.
The numbers also speak for themselves. Barcode scanning, for example, can boost accuracy to 99.9%. The efficiency can be a game-changer for small and growing businesses that need to do more with fewer resources.
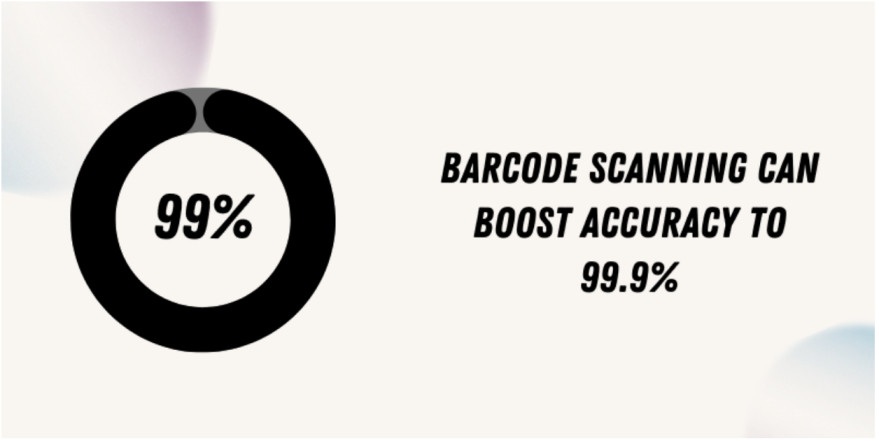
Source: Xincode Technology
Inventory Labeling Options Explained
Not all labeling systems are the same, and the right one for you depends on the size of your inventory, your budget, and the speed at which you need items to be processed. Let’s break down the main options so you can see which fits your business best.
1. Manual Tags
Manual tags are the simplest and cheapest way to label items. You can handwrite or print small tags, attach them to boxes, shelves, or products, and track inventory with a notebook or manual spreadsheet. This approach is great for small businesses or those with limited stock.
The benefit is that you only need paper tags or stickers. The only drawback is human error, which accounts for approximately 90% of errors. If someone forgets to update the records or mislabels an item, it can cause confusion.
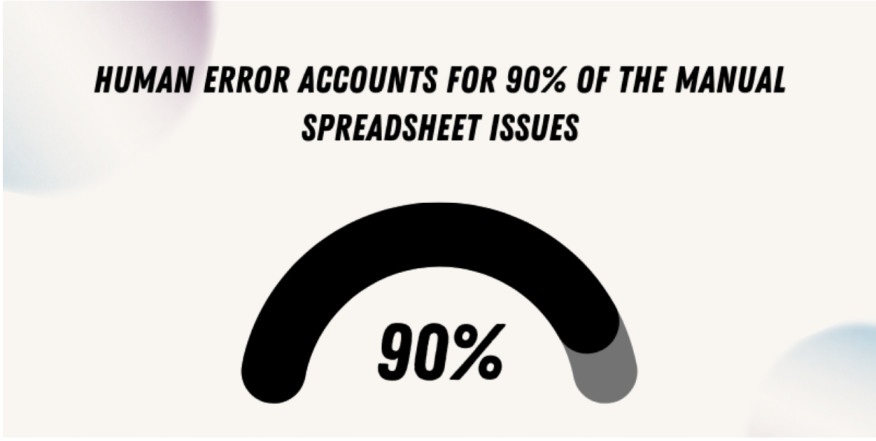
Source: Forbes
2. Barcodes and QR Codes
Inventory tagging systems, such as barcodes and QR codes, are the most common upgrade from manual tags. With simple software, you can generate unique codes for each item. Using a barcode scanner or a smartphone camera, employees can instantly scan items.
This labeling system reduces mistakes and makes audits much faster. Studies also show that barcode systems are beneficial for businesses scaling up, as they automate tracking without incurring significant upfront costs.
3. RFID (Radio Frequency Identification)
RFID is a more advanced system that eliminates the need for manual scanning. Small RFID chips are attached to items, and readers automatically detect them as they pass by. That means faster check-ins, check-outs, and tracking without human effort.
This system is particularly useful in high-volume industries such as warehouses, manufacturing, and healthcare. While the upfront cost is higher than barcodes, the time savings and reduced labor can justify the investment for growing businesses.
Step-by-Step Labeling System Setup
Getting started with inventory labeling doesn’t need to be overwhelming. The key is to follow a clear process that takes you from organizing your stock to training your team. Here’s how to set up a labeling system that works and lasts.
Step 1: Audit & Organize
Before you even think about printing labels, you need to know exactly what you’re labeling. Start by grouping your inventory into categories, such as office supplies, raw materials, packaging, and finished products.
Toss out expired or obsolete items and ensure everything has a designated storage spot. This step prevents wasted time labeling items you don’t actually need and creates a clean foundation for your system.
Pro Tip: Use clear bins, shelves, or drawers, so the labeled items are visible and easy to access later.
Step 2: Define Labeling Standards
Consistency is what makes a labeling system successful. Decide how your labels should look, what information they’ll include, and where they’ll be placed. This is where you set up SKU conventions (Stock Keeping Units).
For example:
- A100 = Office supplies
- C200 = Cleaning products
- P300 = Packaging
It’s also recommended to document these standards in a short-style guide. That way, no matter who creates labels in the future, the system stays uniform. Just avoid overly complicated code because simple is always better for daily use.
Step 3: Generate and Apply Labels

Source: Wunderlabel
Once your standards are set, it’s time to create the labels. It’s best to use inventory management software to generate barcodes or QR codes. These tools also allow you to track items in real time once scanning begins.
When applying labels:
- Place them in a consistent location on every item (e.g., top-right corner of a box, or the handle of a tool).
- Make sure the label is easy to scan and won’t be covered up by packaging tape.
- Use fonts that are large enough for text, and ensure high-contrast printing for barcodes.
Remember to test-scan a few labels before rolling out the update across your entire inventory to confirm readability.
Step 4: Ensure Durability
Labels that peel off, fade, or smudge will ruin your system. So it’s best to use durable materials like polyester or laminated labels, especially if your items are exposed to moisture, chemicals, or heavy handling.
If you work with items stored outdoors or in harsh conditions, use protective sleeves.
Helpful Tip: When labeling items in a freezer, use freezer-grade adhesive so the labels stay in place.
Step 5: Train Your Team
Even the most advanced labeling system won’t help if your team doesn’t know how to use it. Training should cover the following:
- How to scan and update inventory in the system.
- What to do if a label gets damaged.
- How to request a new label when needed.
A 30-minute session can help prevent common mistakes, such as double-labeling or skipping updates. To support this, create a reference sheet or poster near workstations with scanning and updating steps.
Step 6: Run Regular Audits
The best systems can also drift over time. That’s why you need regular spot checks. Pick random shelves or bins and make sure the scanned data matches the physical items. If there are mismatches, identify the cause and correct the process.
It’s best to run a light audit monthly and a full one annually. This helps keep your data reliable, and you won’t run into surprises during tax season or client audits.
The easiest way is to keep an “issues log” where staff can note problems with labels or scanning, so you can spot recurring issues early.
Common Labeling Mistakes to Avoid
Labeling systems can also fail like any other machine if you don’t manage them properly. Here are three common mistakes businesses make and how to avoid them.
1. Using Poor-Quality Materials
If your labels fade, peel, or smudge after just a few weeks, they won’t be much help. Low-quality paper or ink often results in illegible barcodes, leading to wasted time during scanning and data entry.
For warehouses, healthcare facilities, or outdoor environments, labels made from polyester or laminated stock are the best options. It’s better to invest a little more up front than deal with constant replacements.
2. Neglecting Updates When Items or Layouts Change
Your warehouse or stockroom will expand over time. New items arrive, old ones are discontinued, and storage layouts change. If you don’t update labels and digital records, you’ll end up with mismatched systems.
The best way to avoid this problem is to assign one team member to manage updates so nothing falls through the cracks.
3. Inconsistent Labeling Systems Across Locations
Inventory inconsistency is a silent killer. One location might label boxes with barcodes, while another uses handwritten tags.
This creates confusion, slows down audits, and frustrates staff as they move between sites. A unified, company-wide labeling system ensures everyone speaks the same “inventory language.”
In fact, studies have proven that companies relying on inventory management systems have seen a reduction of up to 25% in inaccuracies.

Source: SCA
Labeling Is the Small Step That Delivers Big Wins
Getting inventory labeling right may feel like a small detail, but it’s often the difference between smooth operations and daily chaos. Labels give your business accuracy, visibility, and speed. Without them, even the best inventory system will eventually fall apart.
The key is simple. Use durable materials, keep your labels up to date, and apply a consistent system across all locations.
Start small if you need to, but start now, because every day with a disorganized inventory system is costing you more than you think.
Frequently Asked Questions
-
For very small items, group them into bins or trays and label the container, rather than labeling each piece individually. You can also use tiny barcode labels or QR code tags. The goal is easy identification without damaging the product. Always test label readability before rolling out labels across your inventory.
-
Establish clear SKU conventions and design labels with distinguishing features, such as size, color codes, or batch numbers. Adding both a barcode and text description helps staff identify items even without scanners. Remember, consistency in labeling prevents mix-ups.
-
Poor-quality materials are the main cause of labels peeling or fading. Switch to durable, industrial-grade labels designed for your storage conditions, such as waterproof or heat-resistant options. If labels are handled often, use protective sleeves. Investing in quality prevents constant replacements and keeps scanning accurate during audits.