You should have the New checkout dialogue box open.
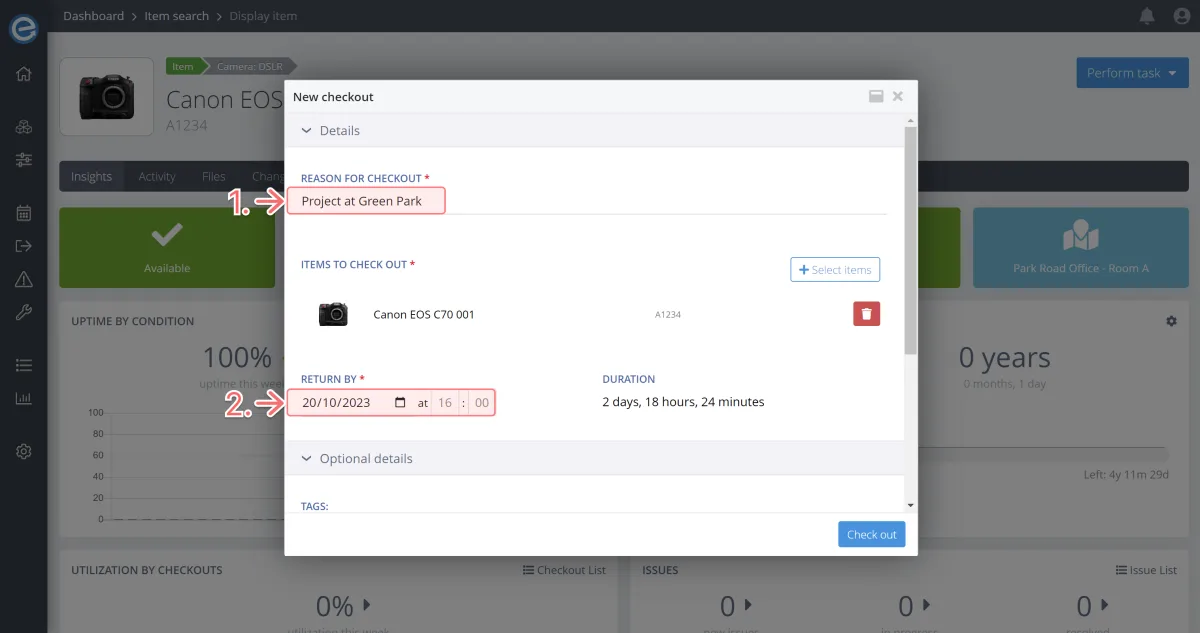
Note: When you checkout from the item’s page, the item is automatically added. You can still add other items to the checkout by clicking + Select items.
- Add the reason for checking out your item. For this task, let’s enter Project at Green Park.
Choose the date and time to return the item. Let’s check the item out for two days.
Let’s add Optional details to the checkout:
- Tag: This is a freeform text field to add a word or multiple words to quickly help you identify the checkout type or reason.
Type ‘Wedding’ and press enter to add it. - Assigned to: Click the + icon and choose yourself as the assignee.
Location: The checkout location should ideally be where the item will be located while checked out. It could be at a warehouse, repair store or with an individual.
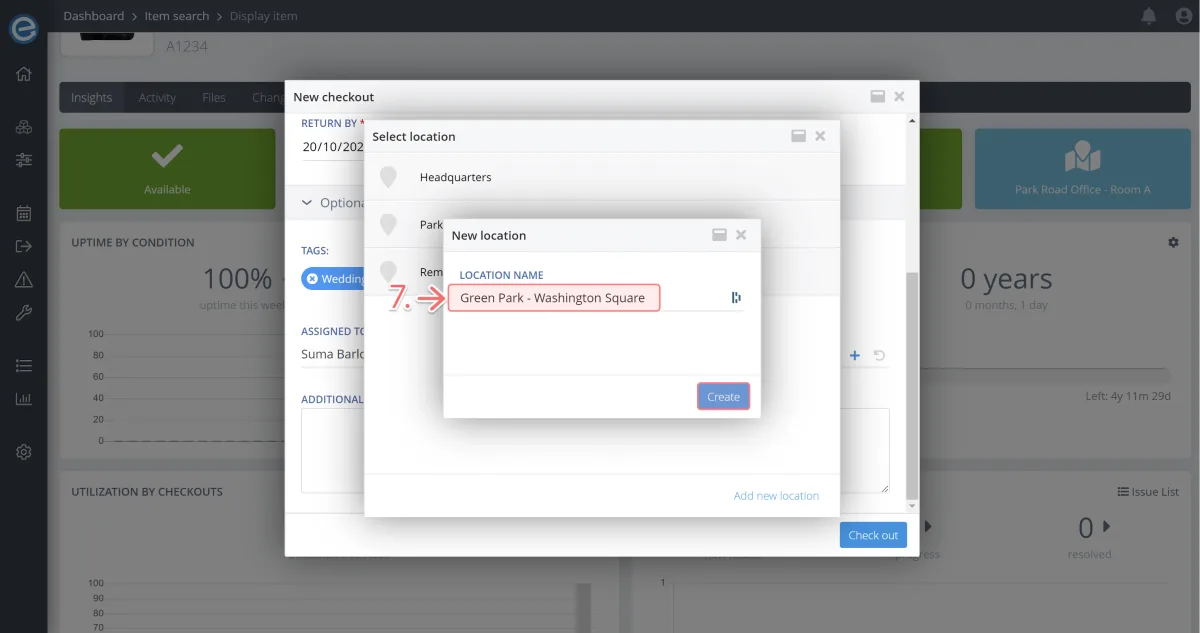
Let’s enter a new location. Click the + icon to open the Location dialogue box.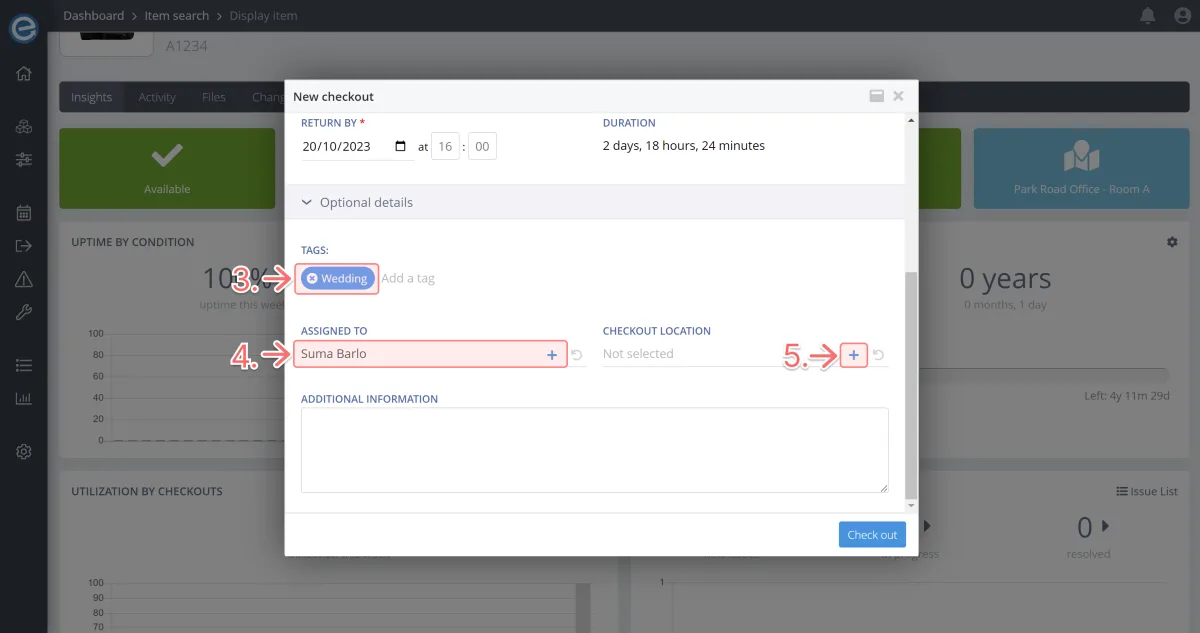
Click Add new location.
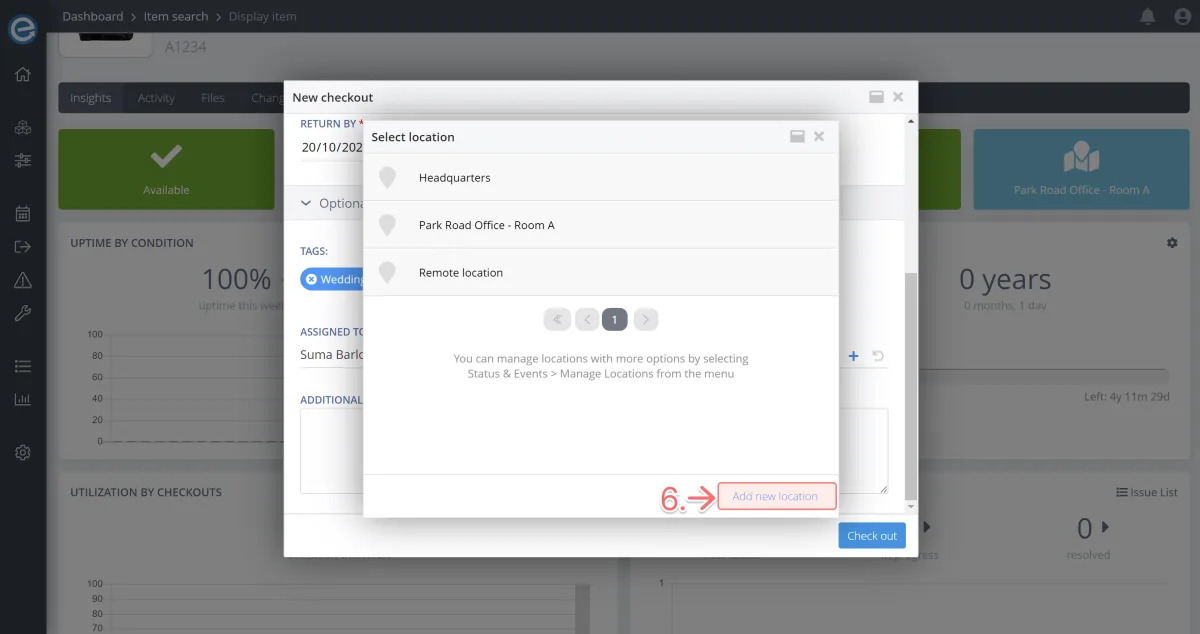
Enter Green Park - Washington Square, and click Create.
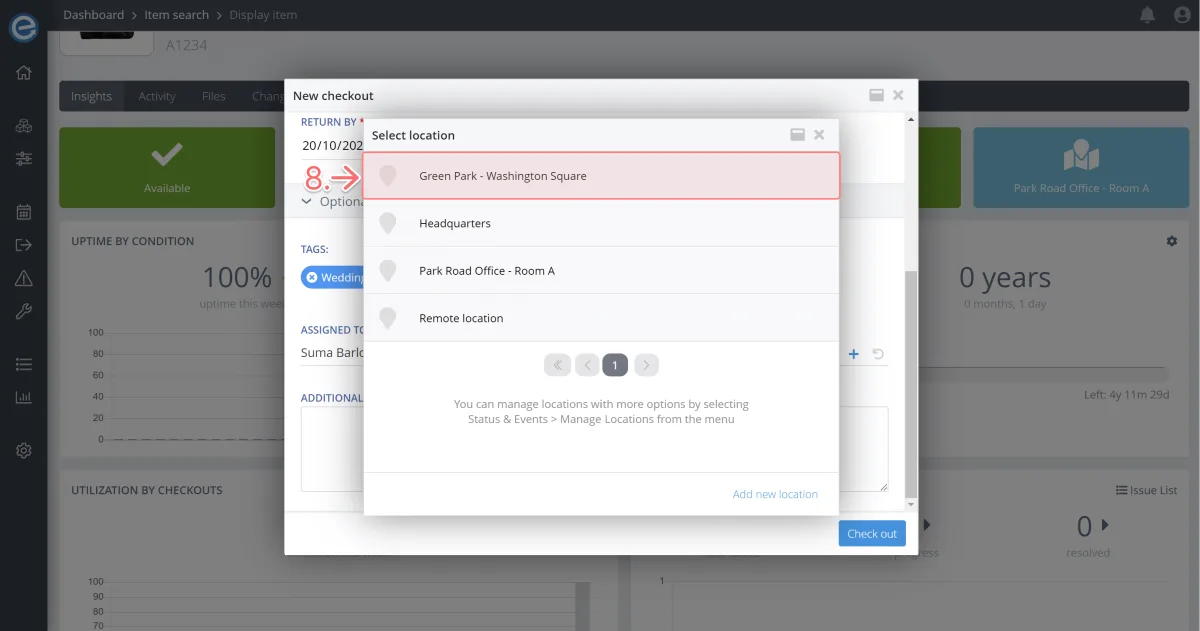
Now your new location is created, select it to add it to the checkout.
Add any additional comments in the free text field then click Check out and you’re done!

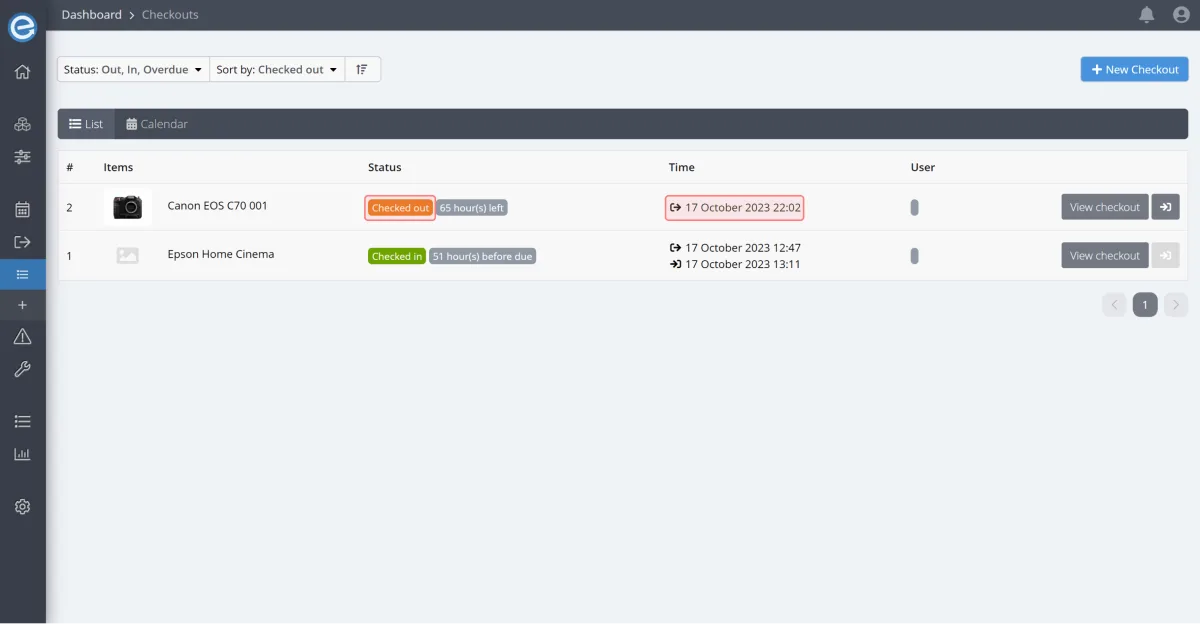
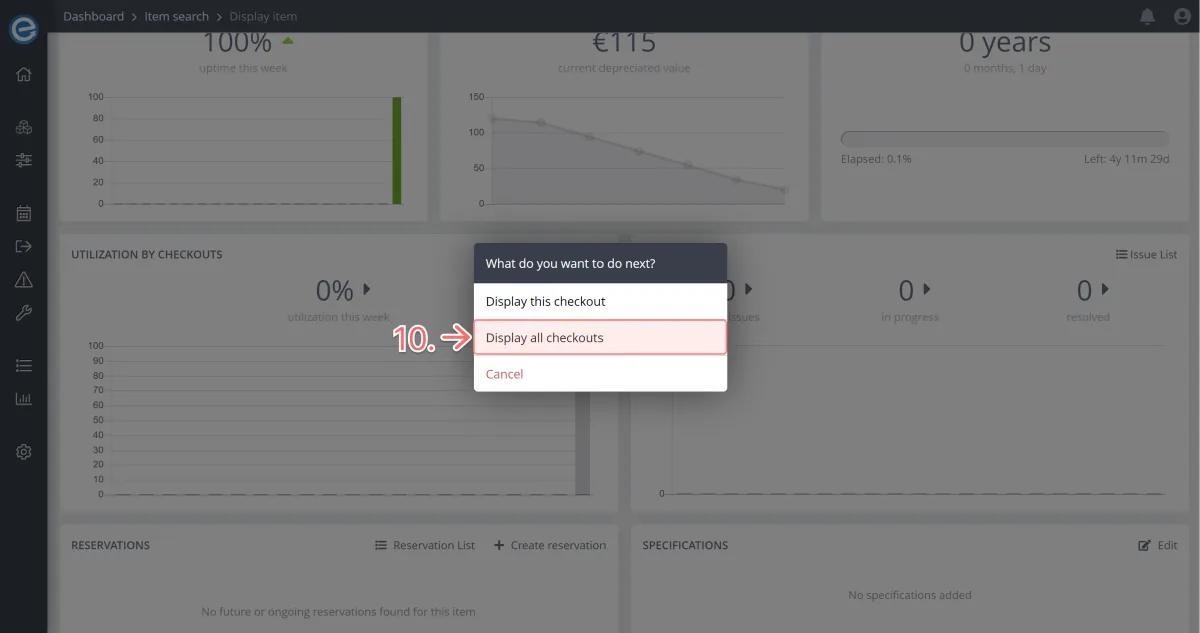
Success! Your item was successfully checked out. Click Display all checkouts to see your list of items currently checked out.
You can see the item has a Checked-out status and shows the date and time it was checked out.